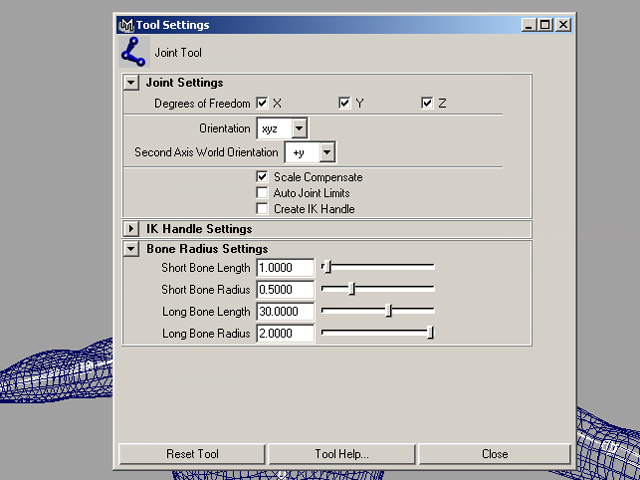
Default Joint Tool settings.
In the side view, create the Root Joint at the pelvis of the body and then the first Spine joint directly above it. Continue to create as many joints as necessary until you reach the end of the jaw.
If you need to readjust joints, only use the TranslateX channel to move and the Joint Orient Attribute for rotation. This will ensure a clean skeleton without unncessary channel information. To get to the Joint Orient boxes. hit Control-A for the joint you want to modify.
Be sure to name your joints!! This will be important later (Step 7).
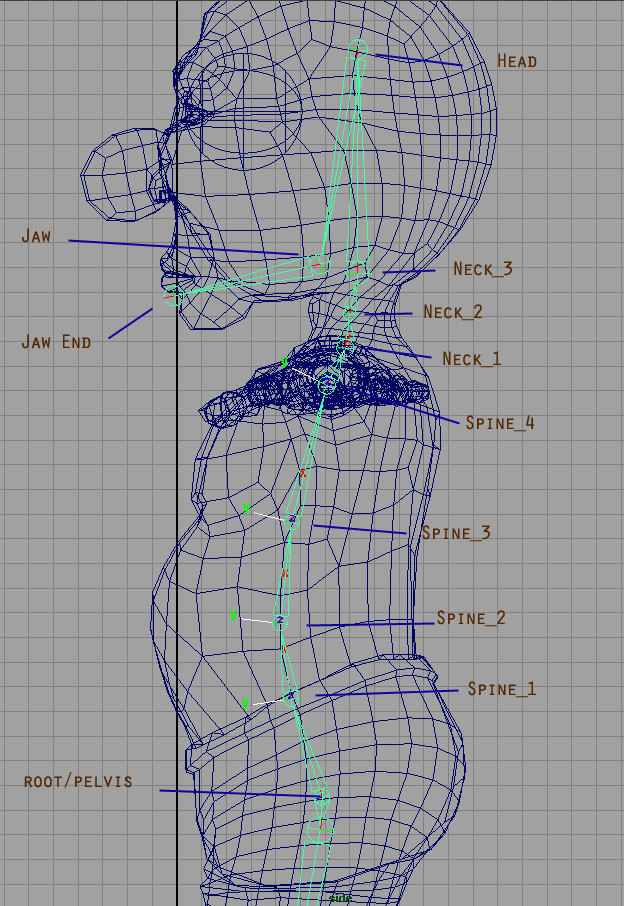
Spine and head joints.
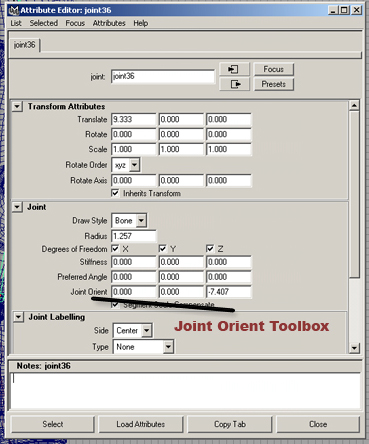
Joint Orient Toolbox.
We will be building the left half of the skeleton first. The Knee is bent just a little so that the IK Handle control will know which way to bend.
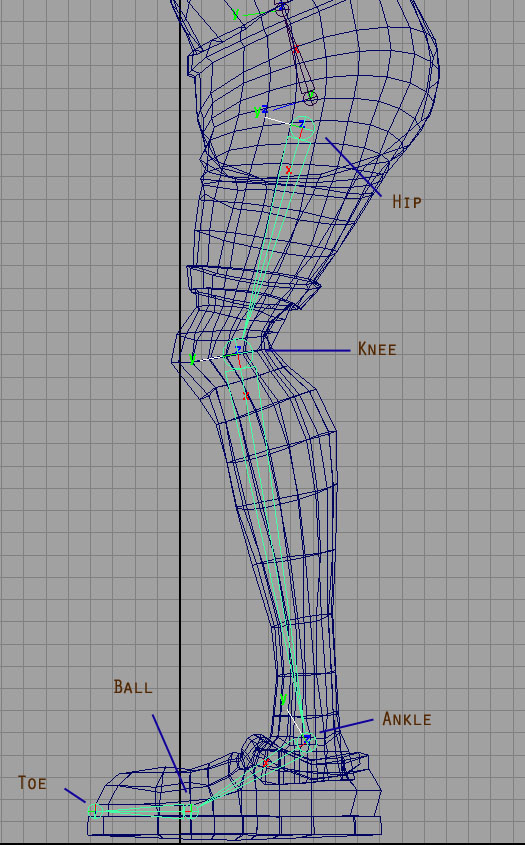
Leg and feet joints.
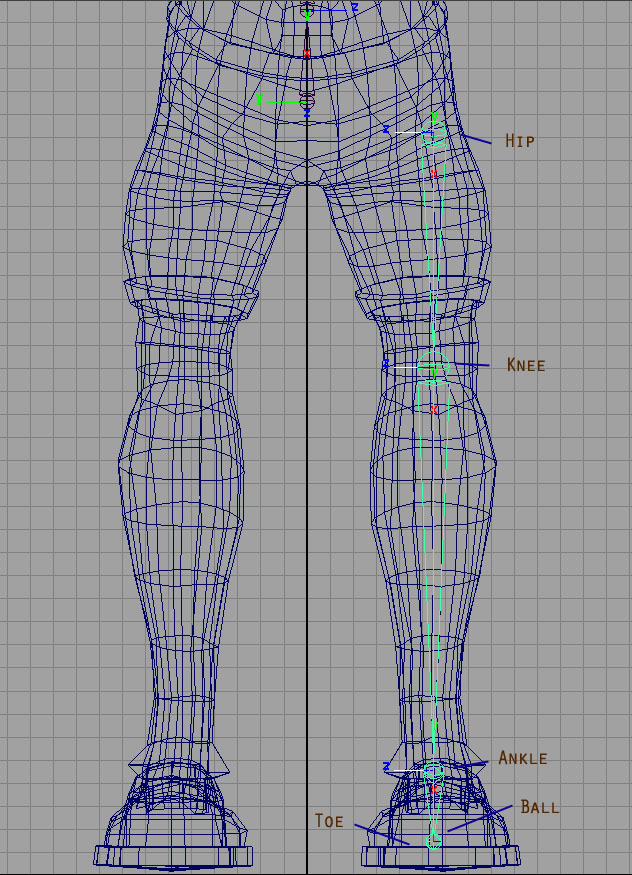
Front View.
From the top view, make sure the elbow is bent just a tad so that the IK handles will know which way to bend. (Although, you can manually set a Preferred Angle for the joint and it will do the same thing.)
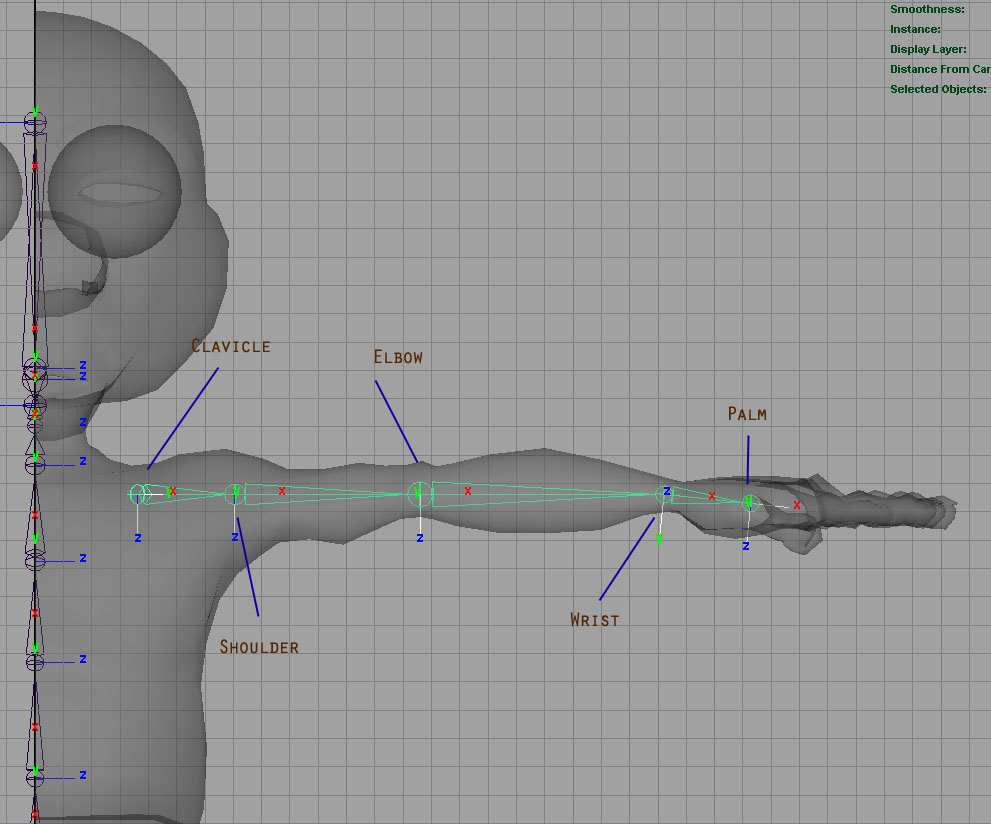
Shoulder and arm joints.
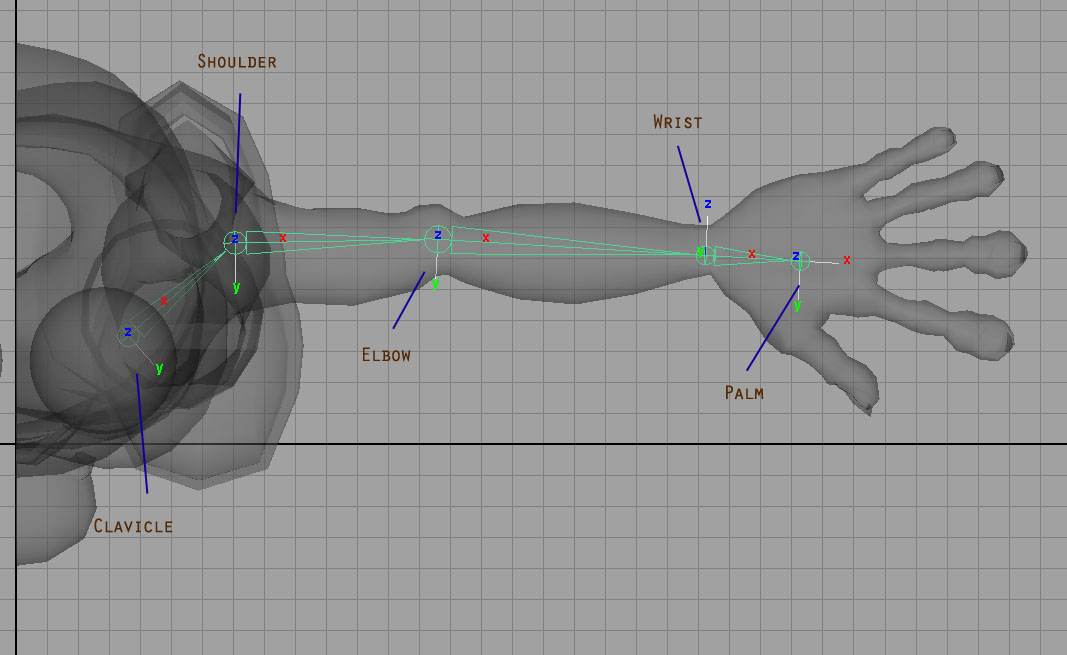
Top View.
You can Create one finger Joint Chain and then dublicate them for the other fingers. Re-adjust each one and then parent them to the Wrist Joint. Very important that all the fingers are oriented correctly and rotating in the same direction, except the thumb, which should be rotating horizontally towards the hand.
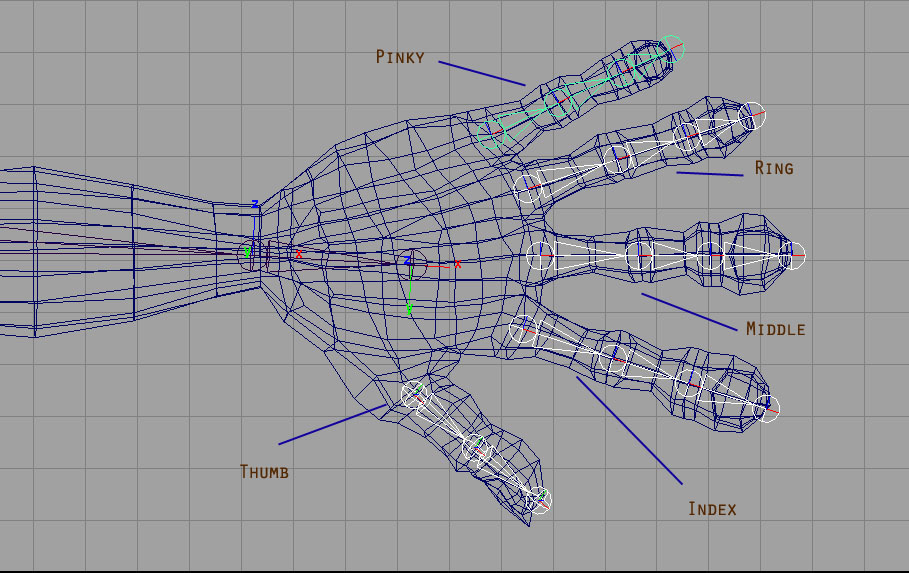
Joints for the hand.
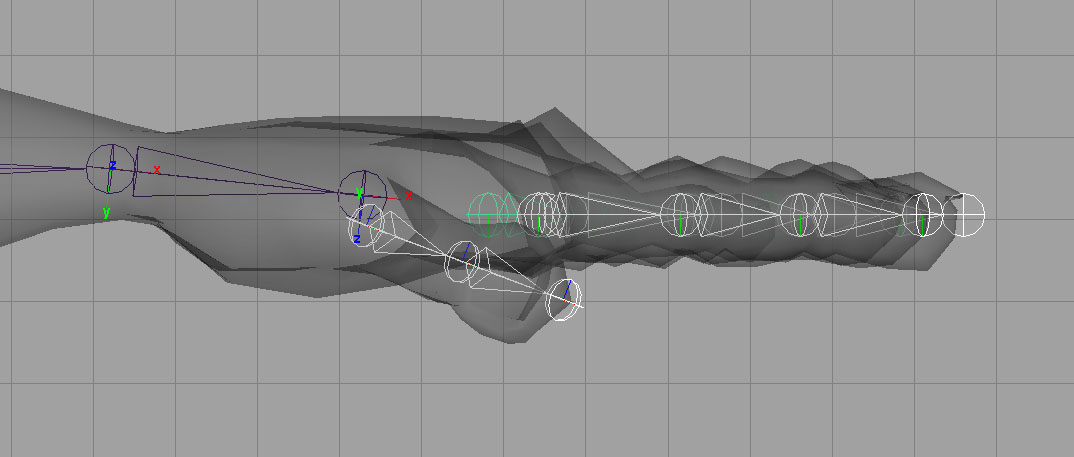
Side View.
With all the joints created, now you have to piece them all together into one single skeleton. Click on the Clavicle joint, shift-click the Neck_1 joint, and then press the "P" key to parent the arms to the spine. The order in which you click on joints matter. The parent should always be selected last. Next click on the Hip joint, shift-click the root/pelvis joint, and press "P". Do this for all the finger joints too. They should be parented to the palm joint.
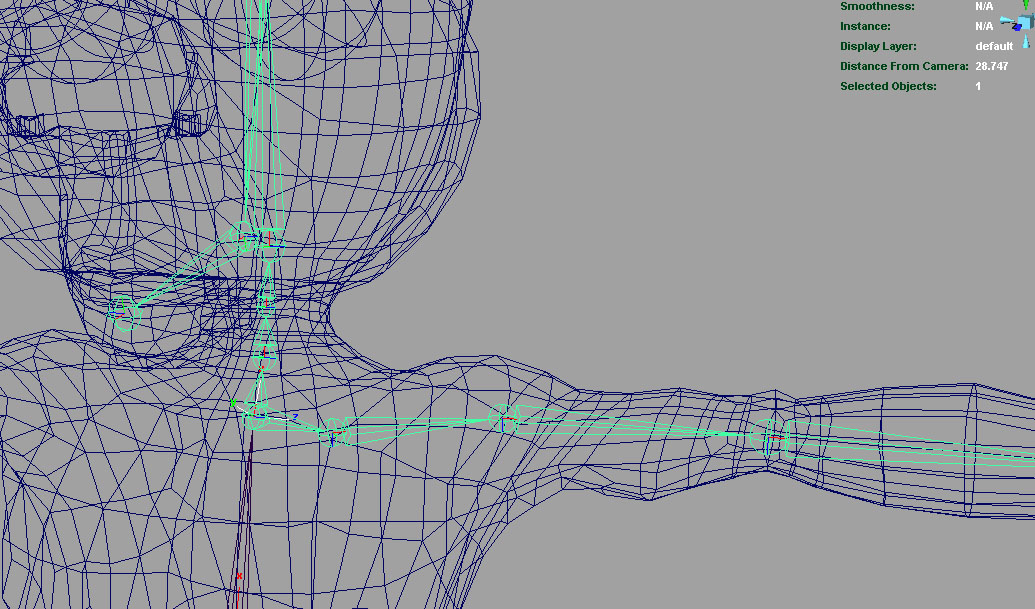
Clavicle parented to the spine joint.
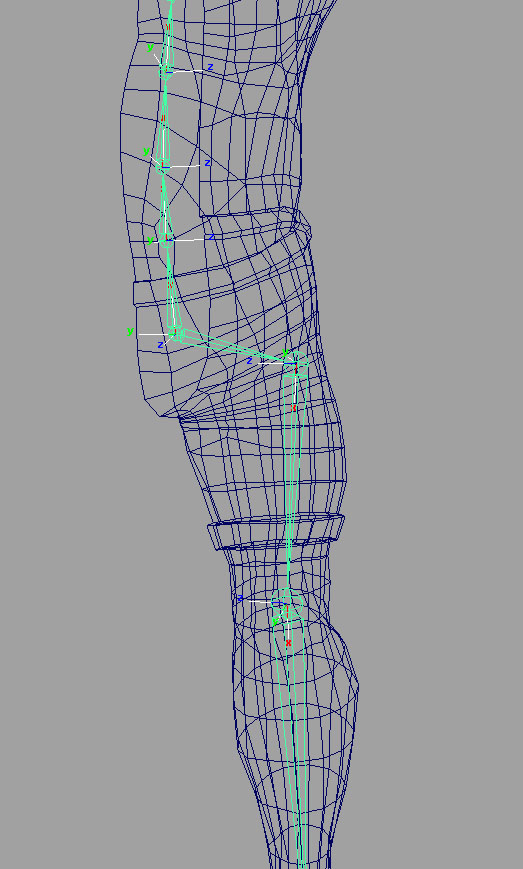
Hips parented to the root joint.
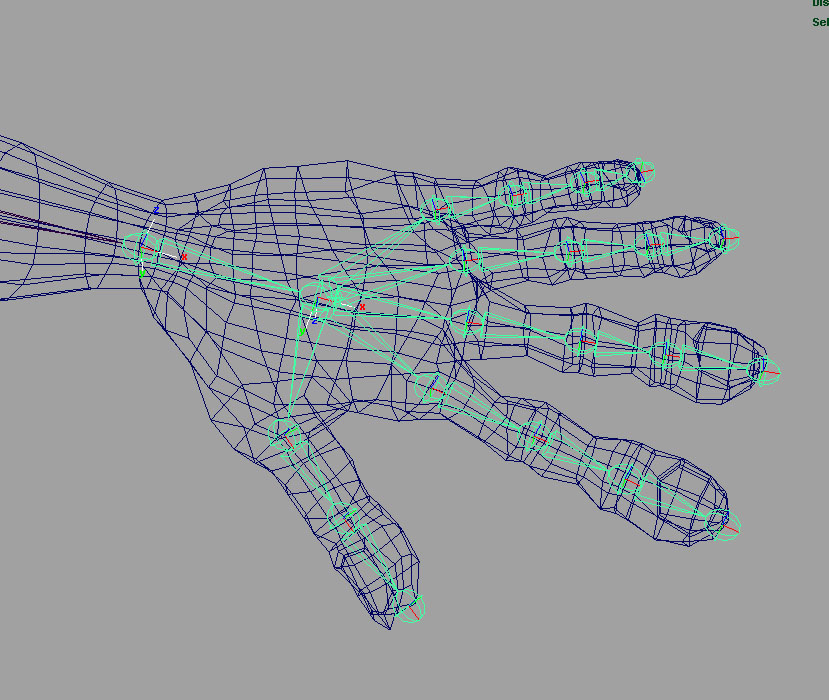
Fingers and Thumb parented to the palm joint.
Click on the Clavicle (collar) Joint and then go to the Skeleton >> Mirror Joint Option menu. It should be mirrored across the YZ, Behavior Function, and if you used my naming scheme, Search for: LT and Replace with RT. Do the same for the Leg chain.
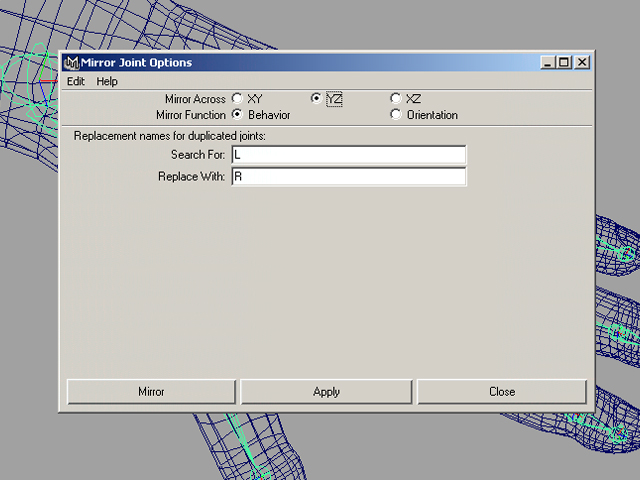
Mirror Joints Options.