Head Modeling Tutorial / Step18

10/11/2005

Previous Home Next

1 | 2 | 3 | 4 | 5 | 6 | 7 | 8 | 9 | 10 | 11 | 12 | 13 | 14 | 15 | 16 | 17 | 18 | 19 | 20 | 21 | 22 | 23 | 24 | 25 | 26 | 27 | 28 | 29 | 30 | 31 | 32 | 33 | 34 | 35 | 36 | 37 | 38 | 39 | 40 | 41 | 42 | 43 | 44 | 45 | 46 | 47 | 48 | 49 | 50 | 51 | 52 | 53 | 54 | 55 | 56
Step18

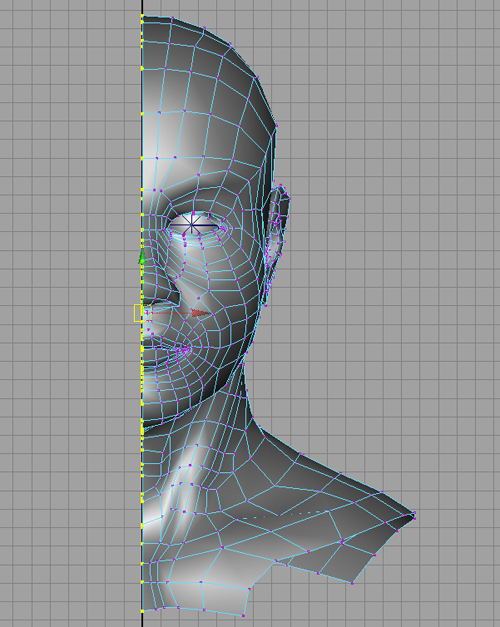
And that's it for the basic half of the head. Now comes the long and hard part. Adjusting vertices, adding edges and faces, and smoothing out lumps and wrinkles until the model looks like that of your reference. constantly go back and forth between Polys and SubD mode so you can see how well your model looks when smoothed out. Now is a good time to try the Paint Polygon tool in order to help you easily smooth out wrinkled and lumpy areas. When you are satisfied with the look of your model, prepare it for duplication by making sure the vertices in the middle of the face is aligned with the Y Axis. Use the Snap to Grid option to make sure. Also, make sure the model's pivot point is also aligned with the Y Axis.