Painting the Color, Bump, and Specular Maps in Photoshop
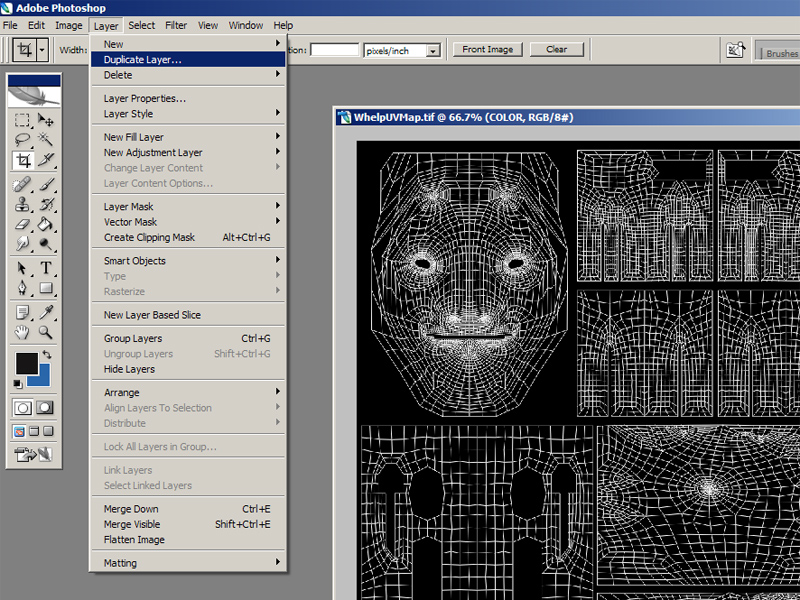
1. Open your UV snapshot in Photoshop, and put it on a new layer: Layer -> Duplicate Layer. Name the new layer "UVs".
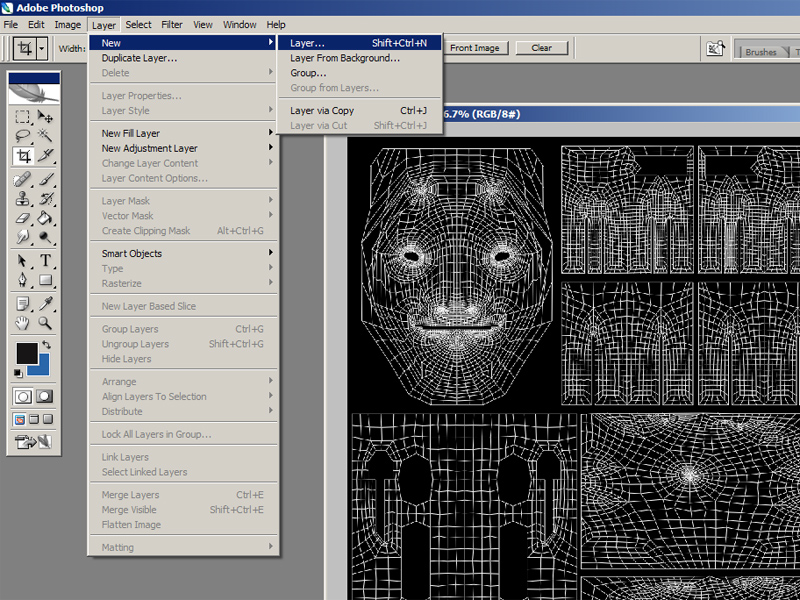
2. Create a new layer: Layer -> New -> Layer (Shift + Cntl + N). Name it "COLOR". Drag this layer below the UV layer in the 'Layers' toolbox.
This is the layer we'll be painting on. You can delete the background layer (Right-click, delete).

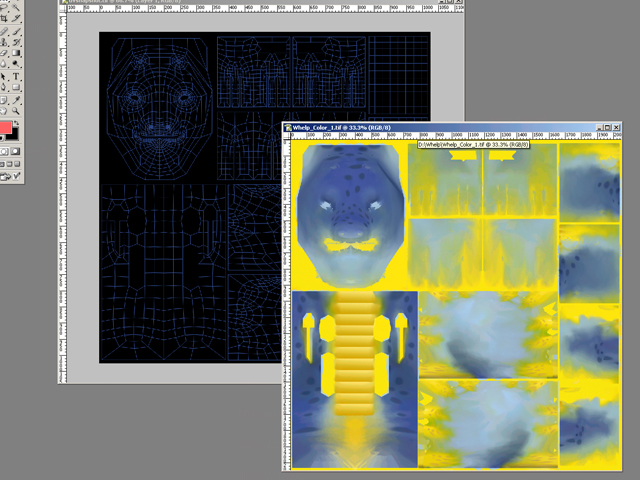
3. Select your UV layer and set it to multiply (if your UVs are black on white) or screen (if they're white on black).
This allows you to paint beneath your UV's. (Also a good workflow for coloring lineart).
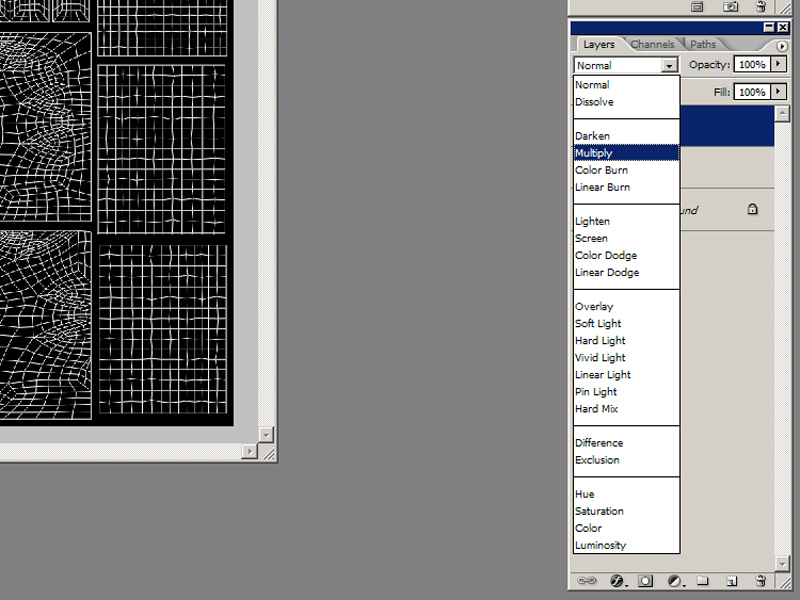
As you work you can adjust the opacity of your UVs or hide them
completely with the controls the Layers toolbox. (see image)

4. Select your COLOR layer, and start painting! Some tips:
It's usually a good idea to start by putting down a base color (use the Paint bucket tool). Start with whatever
hue & value will be most predominant in the color scheme you have in mind. This will help start all the edges between different
UV sections at even values.

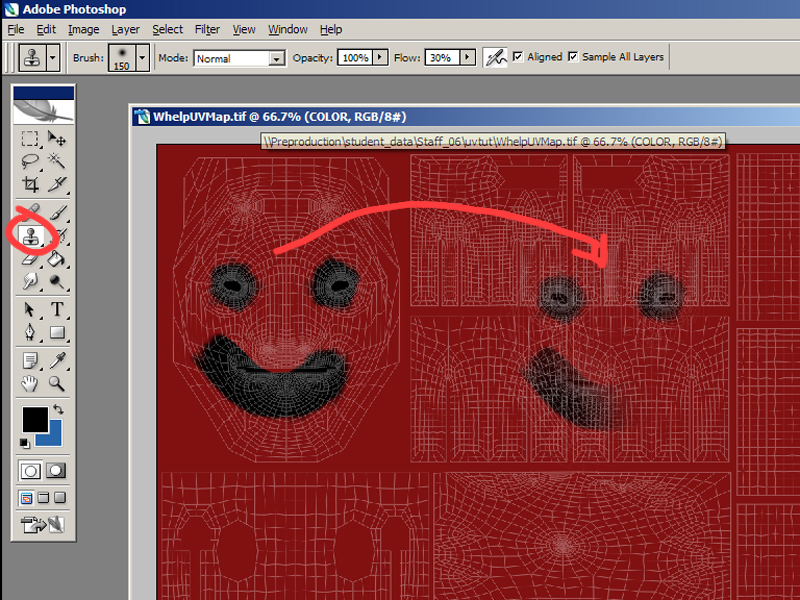
Solid colors are boring, do something creative! A plain red color map with a smiley face will probably lose points.
When painting, always think about how the locations you're painting on in 2D correspond to locations on the 3D model. Consider how much detail is needed for different areas of the mesh. If you're not sure, test it! When you're new to this, the best way to get a good feel for how things will look in 3D is just to load up your work in Maya and see how it looks.
You can easily create new layers if you want to try something out without messing up your main color map. Layers are handy, but don't overdo it - a ton of layers will get complicated fast.
It's important to know where the different parts of your mesh connect, so you can make
the color transitions between those areas seamless. You can use the clone stamp tool to essentially brush from
one part of your painting to another. Select the clone stamp tool in the toolbox, then Alt + click from an area on your color map
you want to sample. Then click where you want to paint that sample to. Now, as long as you paint with the tool it'll sample color
relative to where you first clicked. If you want to start a new clone sample just Alt + click again in a new area.
You can play around with your brush settings in the 'Brushes' tab - brushes in Photoshop are heavily customizable.
(Just don't get too distracted by this!) You can add textures, scattering, etc.

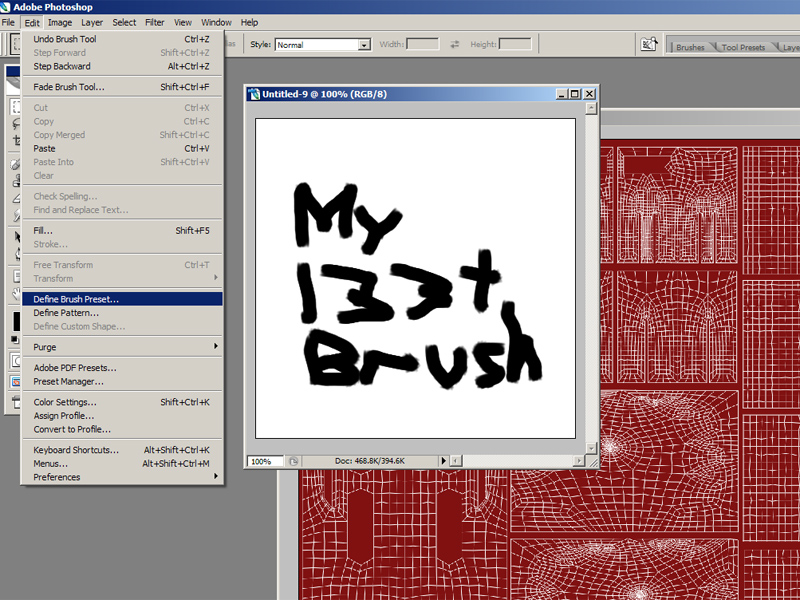
You can even make your own brushes if you want - just open a blank white document (File -> new) and paint the
shape/texture of your brush in grey/black. When you're ready to make it a brush: Edit -> Define Brush Preset. That's all
there is to it - now you can grab this brush at the bottom of the brushes pulldown and modify it like any other brush.
This can be helpful for applying repeated textures, or adding interesting details.
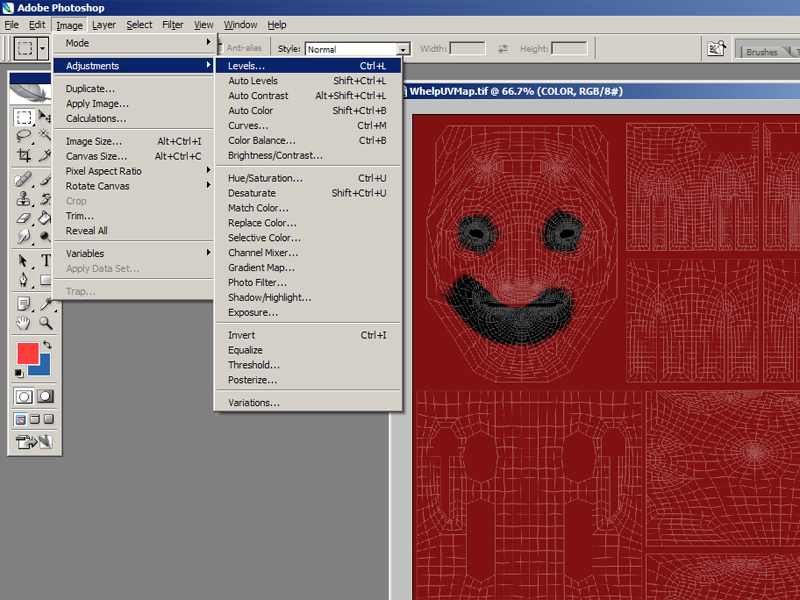
After you've got your color map more or less painted, if you want to tweak overall colors & values, Photoshop has a ton of
adjustments you can play with. (Image -> Adjustments -> ...) Brightness/Contrast is good for some quick and
dirty adjustments, or you can edit your value distribution more accurately with the Levels or Curves adjustments.
With Hue/Saturation you can play with... well... hue and saturation, and you can fine tune colors with Color Balance.
You shouldn't have to spend too much time with any of this, though!
Feel free to play around with Filters and other adjustments. First and foremost though you should be painting a cool color map.
5. When you're done, save out your color map to your network space as an unlayered TIFF (don't forget to hide your UV layer first!). Now that you've got a
cool color map, you'll need good bump and specular maps to back it up. You can start your bump map by just converting your color map to greyscale.
(Image -> Mode -> Greyscale). Now convert it back to RGB mode and save it as a seperate file.

6. The way Maya works with bump maps by default is that any white surrounded by black will bump down, while any black surrounded by white will bump up. So to create your bump map, just lighten and darken with this in mind. You might find the dodge and burn tools helpful for this (dodge lightens, burn darkens). They're in the toolbar, 7th row.
7. You can approach your specular map in the same way. In Maya, light areas will shine while dark areas will not.
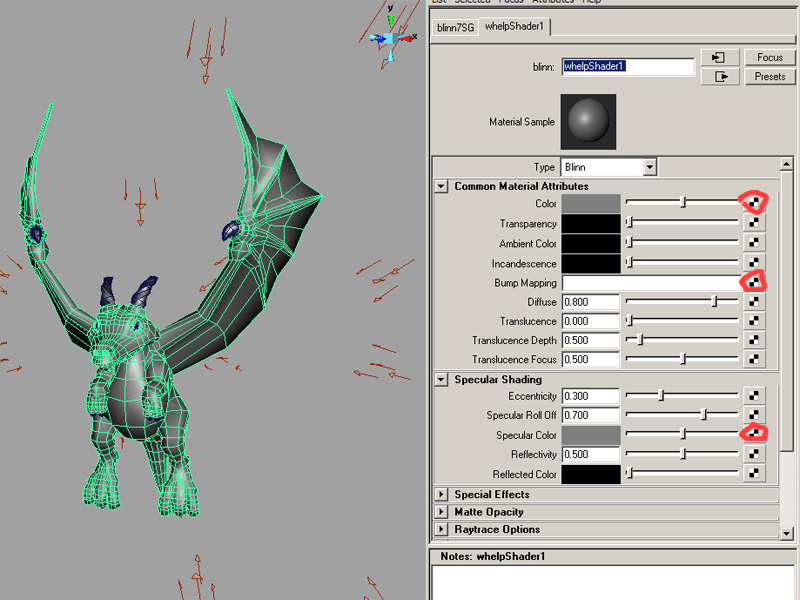
8. When you're done with these maps, save them out to your network space as unlayered TIFFs. In Maya, assign a new shader to your model,
and link your maps to the corresponding nodes.

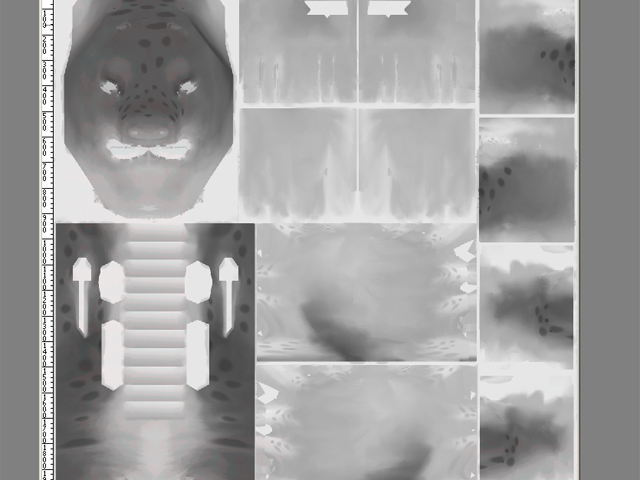
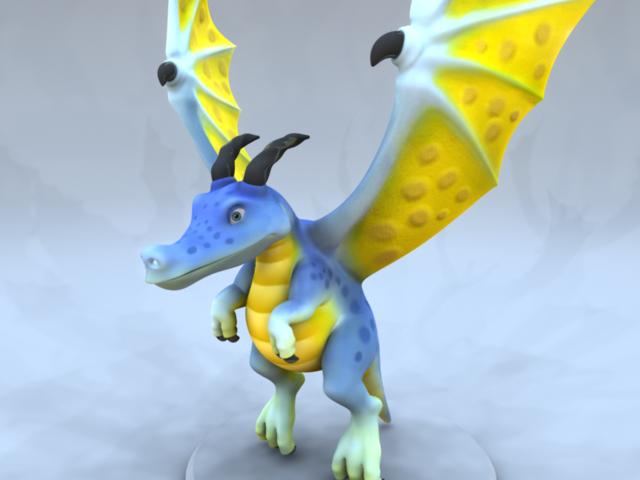
9. When you have everything as you want it, render it out. Hopefully it looks cool! Here's an example: (color, bump, specular, final).

Now follow the turnin instructions on the assignment page. (Render the model from the 4 cameras set up in the file, etc.)